Holiday Gift Guide

We usually wait until after Thanksgiving to bring out any Christmas decorations but my four year old was persistent. We brought everything up and started decorating on Monday. Christmas seemed so far away. Here we are the day after Thanksgiving and it seems SO close. Bring on all the Christmas music, lights, and shopping!

The gift guides I often come across are full of tech and other pricey department store finds. Usually they look pretty but they are full of things that I honestly wouldn’t want for myself or to buy for someone else. So here is gift guide of things I would love to give and to receive! (Hint Hint) Things that are practical, colorful, and/or extra special because they were made by someone who really loves what they do!

LHH Holiday Gift Guide.png
  1. Creative Well Co. Earrings - Sam has the biggest heart and creates the MOST beautiful earrings. Anyone would be lucky to have a pair of these! She is always launching something new so make sure you follow her on Instagram too! $24

  2. Galison Puzzles - We are big puzzlers over here and I love the art they chose for their puzzle selection. I own one of the book club ones but the Christmas ones are so pretty! $16.99

  3. Young Living Stress Away and Thieves All Purpose Cleaner - Stress Away because 2020. And Thieves because I LOVE this and will shout it from the rooftops, literally the only cleaner I use to clean my entire house. Chat with your friend that sells oils if you’re interested in buying, or to me! $41.78 & $30.92

  4. Zak! Brand Tumbler - I got a bigger version of this for Christmas last year and it’s literally my everyday cup. Love this style and the smaller version for on the go. $18.99

  5. Mindo Chocolate - And not just any Chocolate… Dark Chocolate Mint. Made in Michigan. Sign me up. $11.75

  6. All the Plants - Jade, Pothos, Pilea, if you know someone with lots of plants. Chances are they probably want another one. Shop your local nursery if you can before buying online, Bordines, English Gardens, Leaf Me Co. are a few that are local here in metro Detroit!

  7. Happy Happy Houseplant Plant Food - Because you just bought all the plants for your friends, this might be worth a try. Sounds like it’s a miracle worker for those pesky Treenagers. $23.50

  8. A Mano Confetti Spoon Rest - Because you should absolutely love everything you own, right down to the spoon rest. $28

  9. Remnant Rising Personalized Bracelet - Us mamas love our kiddos. Give me all the things with my kids names on them. $12

  10. Darn Tough Socks - Practical at its finest. Warm, colorful, and wearable multiple days in a row (yep, I do it too) without the stink. I will not spend $23 dollars on a shirt most of the time, but these socks, yes, yes I will. $23

  11. A MANO Rainbow Wall Hanging/Ornament - A MANO made it on here twice because I love her color choices and the ceramics make me happy and who couldn’t use a little happy right now. $22

  12. Doe A Deer Swedish Dishcloth - I haven’t used these before, but I did overhear someone talking about them and now I’m intrigued. Basically a BEAUTIFUL sponge that dries quick. Anyone have experience with these?? $10

  13. Butter and Lye Soap - Again with the practicality. I love gifts that will get used and loved and then disappear! $22 for a set of 3

  14. Banyan Bridges Art Print - Again with the happiness, follow Rachel on Instagram and you will see. Anything she touches is instantly happy, and we could all use a little reminder to be bold on the daily. $40

Where are you shopping this holiday season? Do any of these spark some inspiration as you shop small this weekend? Let me know in the comments below, I’d love to check out all of your suggestions!

Bye Bye Brass Fireplace!

So many aspects of our houses just need a tiny bit of TLC to make us feel happier with the place we call home. In this case, an afternoon and a can of spray paint made spending this winter inside cozied up next to the fire feel less like an UGHH staring at this old brass insert and more like an AHHH because it’s no longer an eyesore. I ran into a friend the other day who was hoping for a more detailed breakdown of this transformation so I figured I’d share my process with the world so y’all can come to love your living room a little more too.

The Before: Gold Fireplace, Wood Trim, Green Walls, and all!

The Before: Gold Fireplace, Wood Trim, Green Walls, and all!

First, if your insert is easily removable (lucky you), I would 100% recommend tackling this project outside and just taping off the glass doors. If you aren’t this lucky, I’m right there with you, just follow along.

Fireplace Taped Off.JPG
  1. Grab your painters tape (I swear by Frog Tape) and tape off the glass doors leaving only the metal exposed. I also taped off a little section of my handles that were wood so only the metal parts would get painted black. I got excited to start so this step is shown on my before photo above!

  2. Use masking paper to cover your hearth and the remainder of your fireplace. Make sure you get it in really tight behind the insert so your spray doesn’t creep its way under an onto your bricks. Tape from right behind the inset onto your paper to make sure.

  3. Remove as much as you can from the room, and cover any and all other surfaces you don’t want spray paint settling on with more masking paper, tarps, etc.

  4. Open all windows and doors. Grab your face mask, goggles, and High Heat Black Spray Paint and go to town…. in very light layers at a time. Since this is inside you have to really be careful about how much your spraying or you’ll end up with black cloud in your living room. I just left the house and played outside while I let each coat dry for a few minutes.

  5. When the whole fireplace is covered it should have a pretty even matte black appearance. I let it dry for a few hours and peeled off the tape before bed because you know I wouldn’t be able to sleep without seeing the finished look!

Fireplace Spray Paint.JPG

As far as DIY’s go this one was pretty quick and easy if you’ve spray painted before. The only tricky part is that it’s inside so you have to make sure you’re space is well ventilated and that you don’t rush it to avoid that black cloud (can you tell I learned my lesson here).

The After: Freshly painted fireplace surround, neutral walls, and white trim. So much better!

The After: Freshly painted fireplace surround, neutral walls, and white trim. So much better!

I took on this project last fall and our family has enjoyed numerous fires since then. The paint has held up wonderfully and it totally changed the aesthetic of the room now that it’s black. The focal point is now the warmth of the fire when its on and not the shiny brass surround that dated the space.

Room with a View

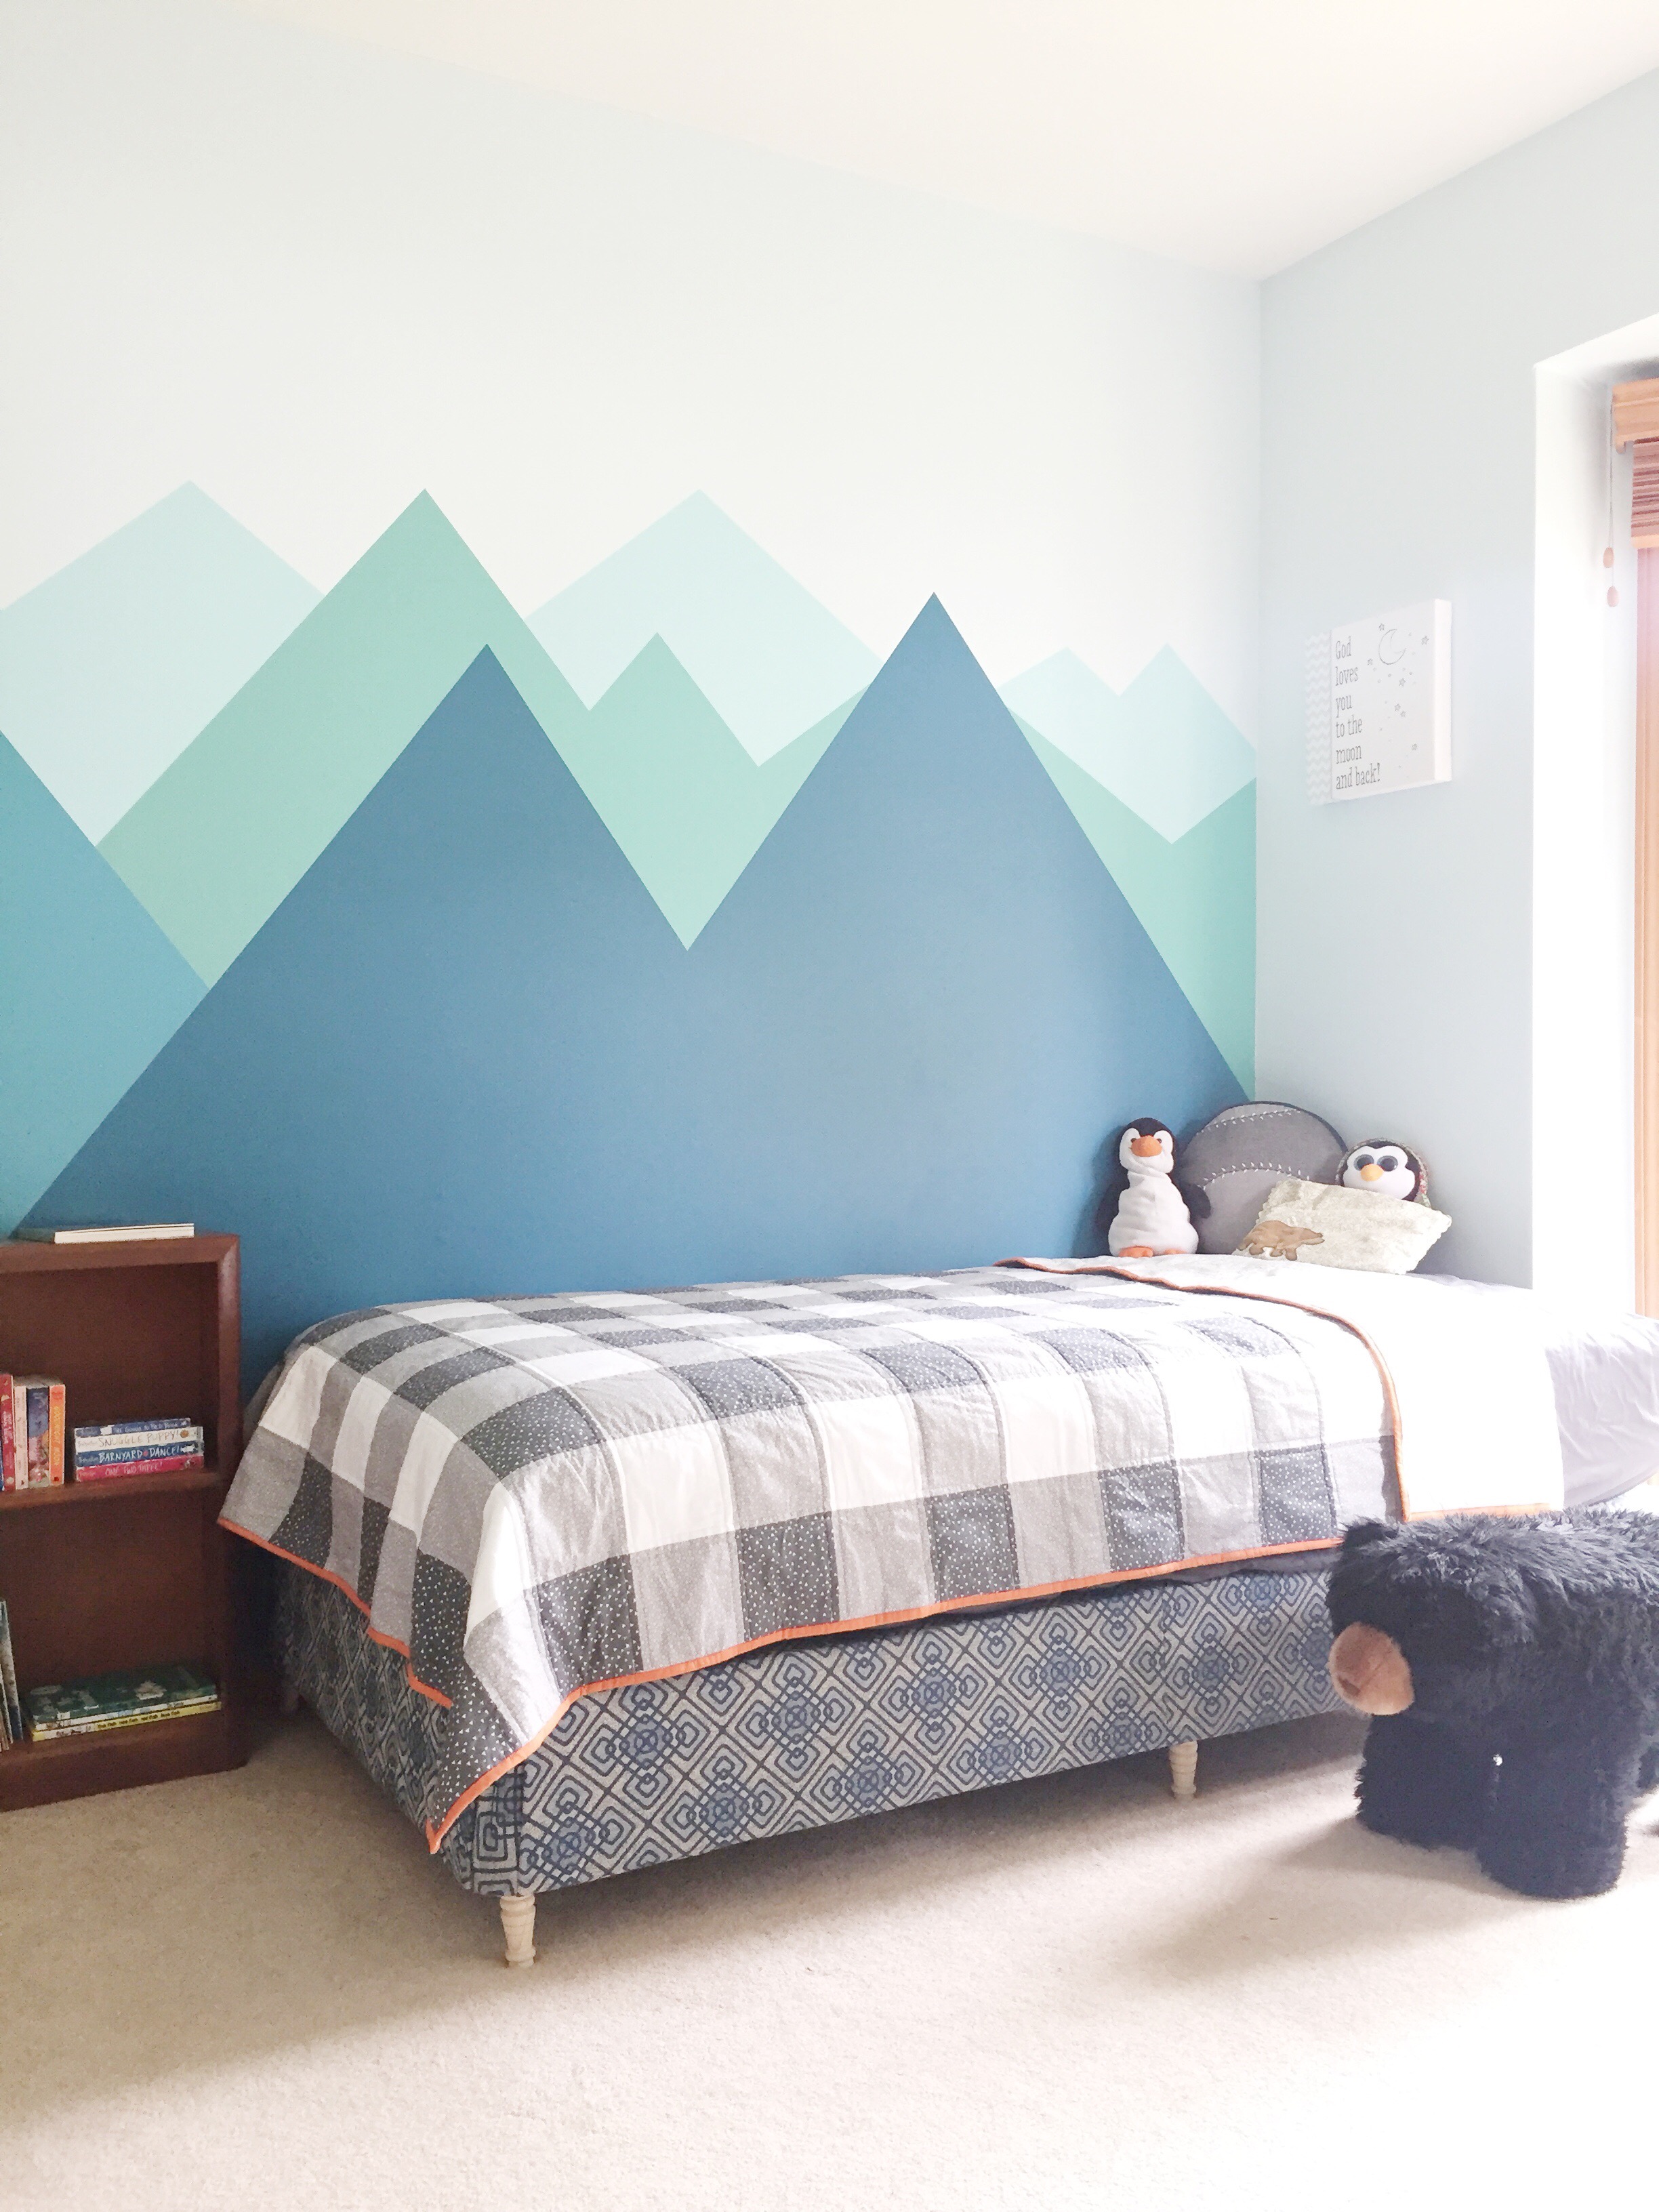
After a move with a toddler who hated his crib from day one, we raised our white flag and put the crib away all together. Our big boy was ready for a new look; a bigger room, bigger bed, and BIG adventures.

mountain wall mural painted DIY.jpg

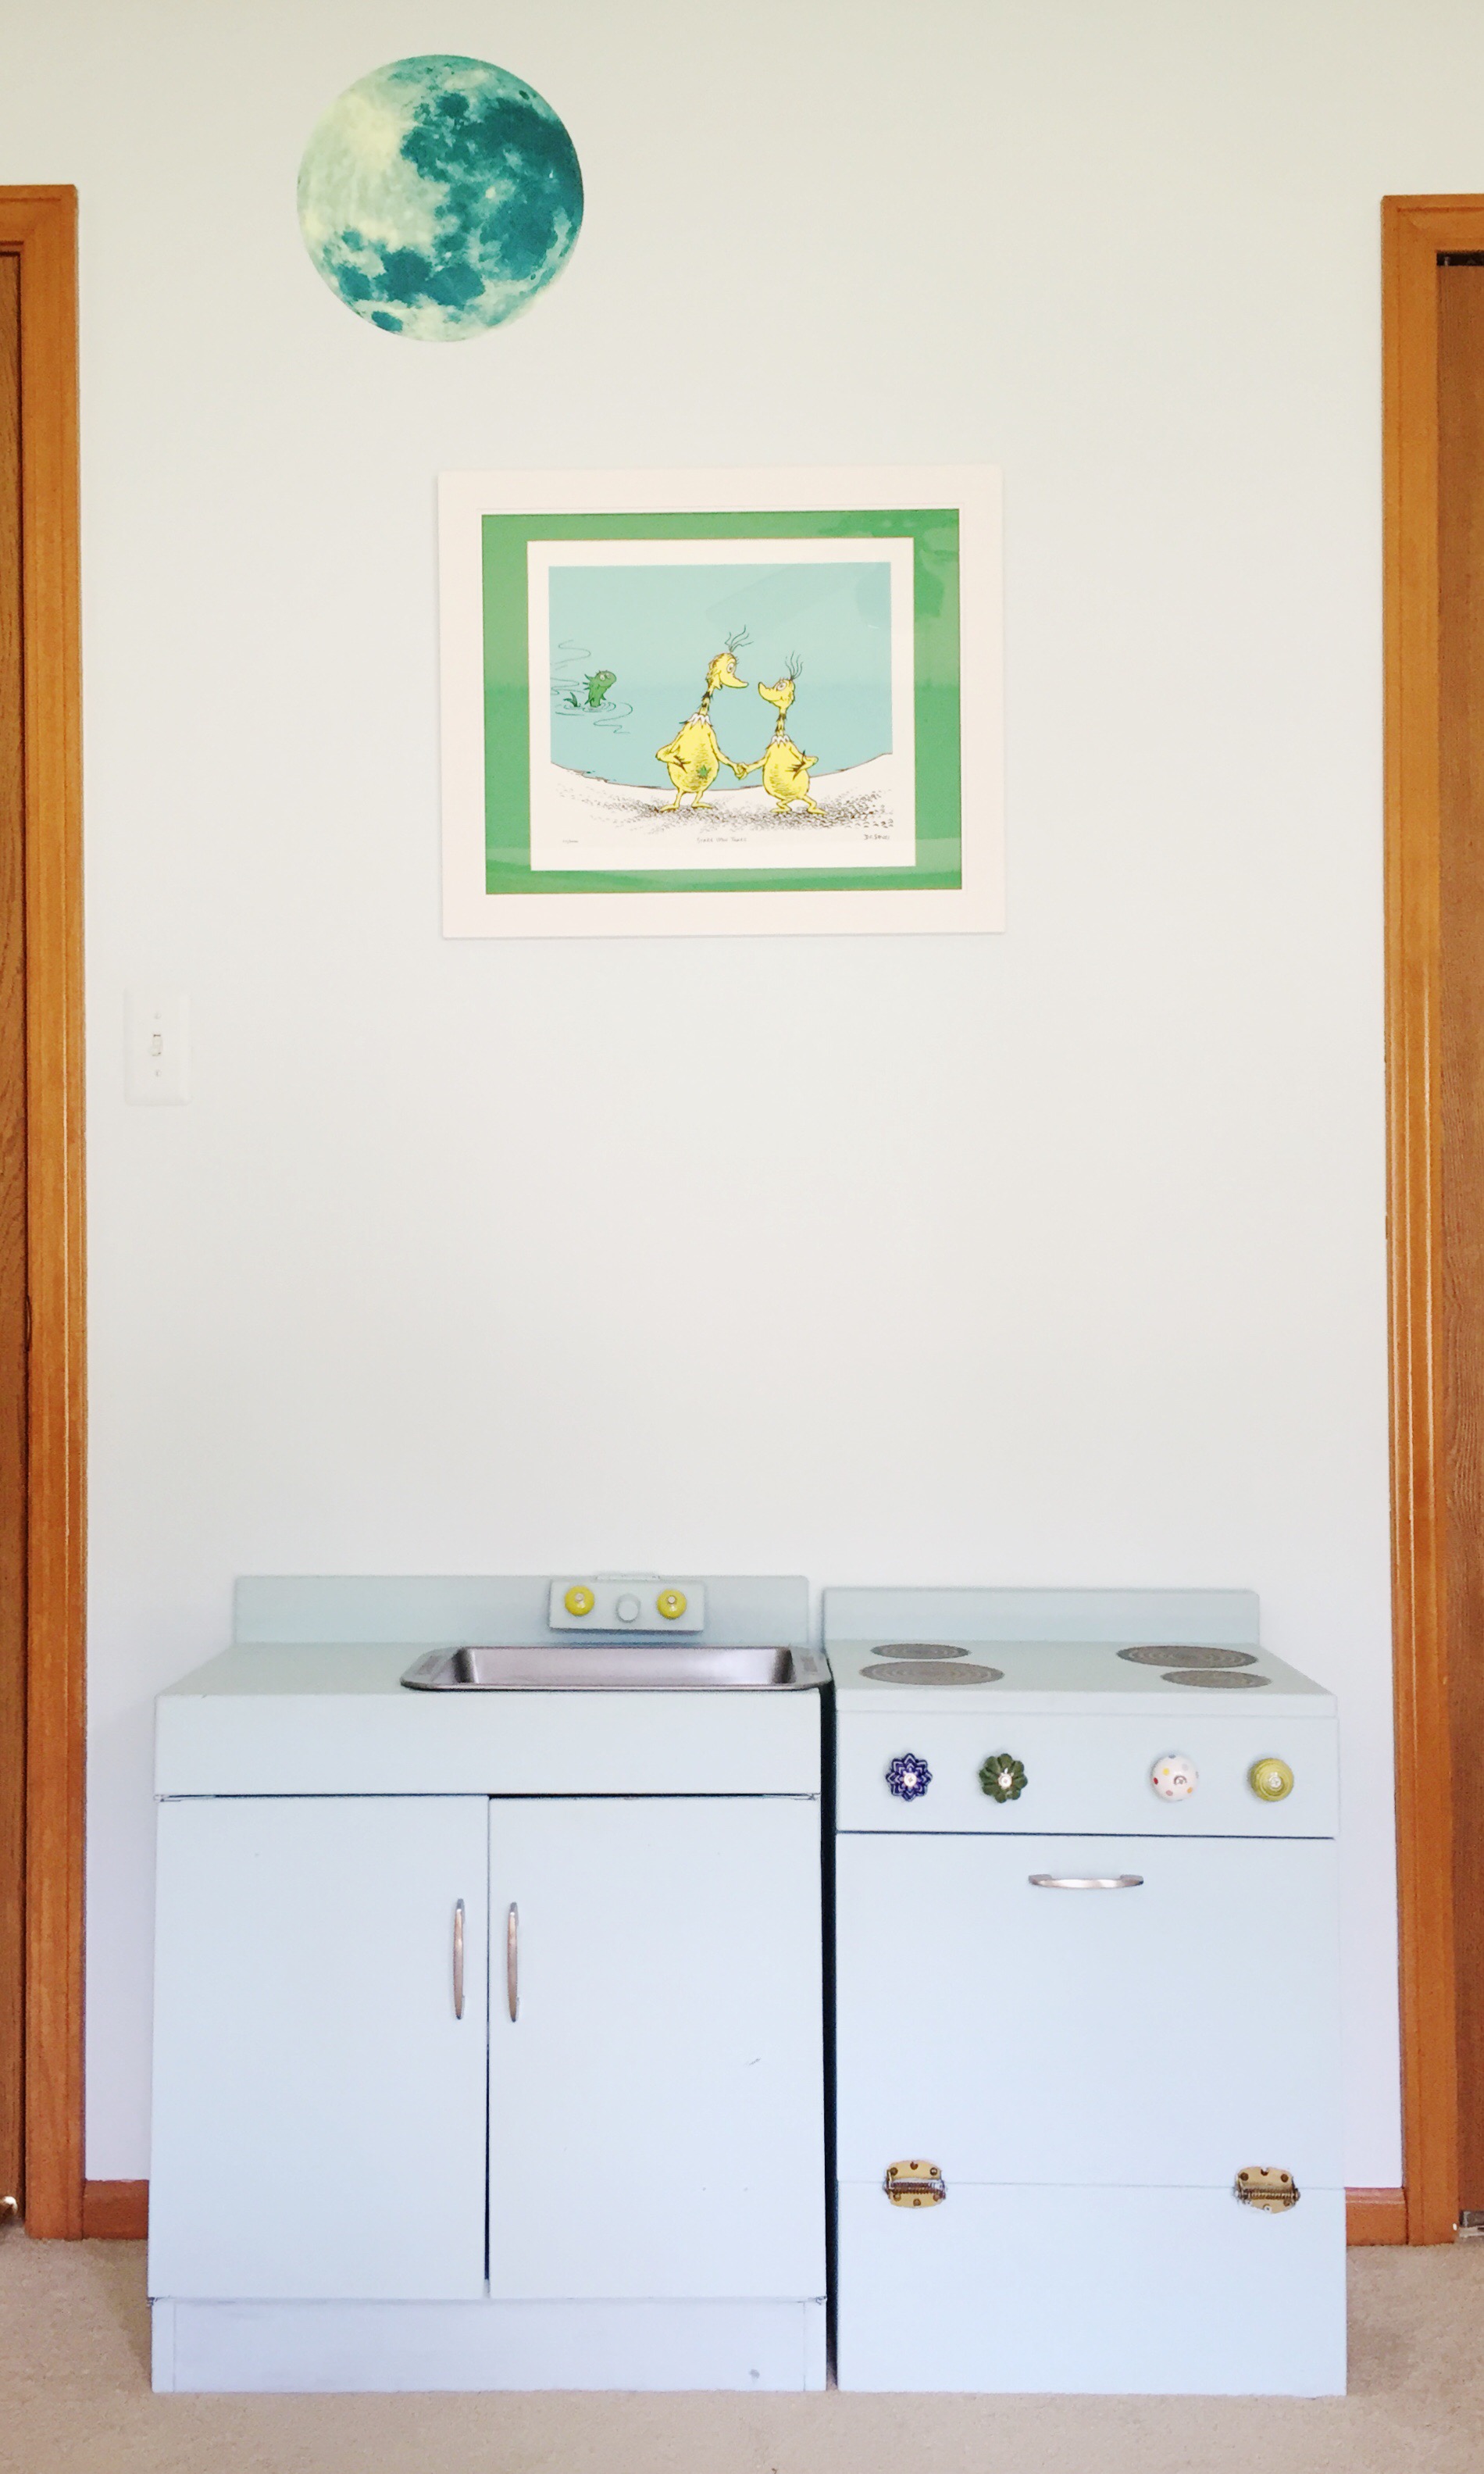
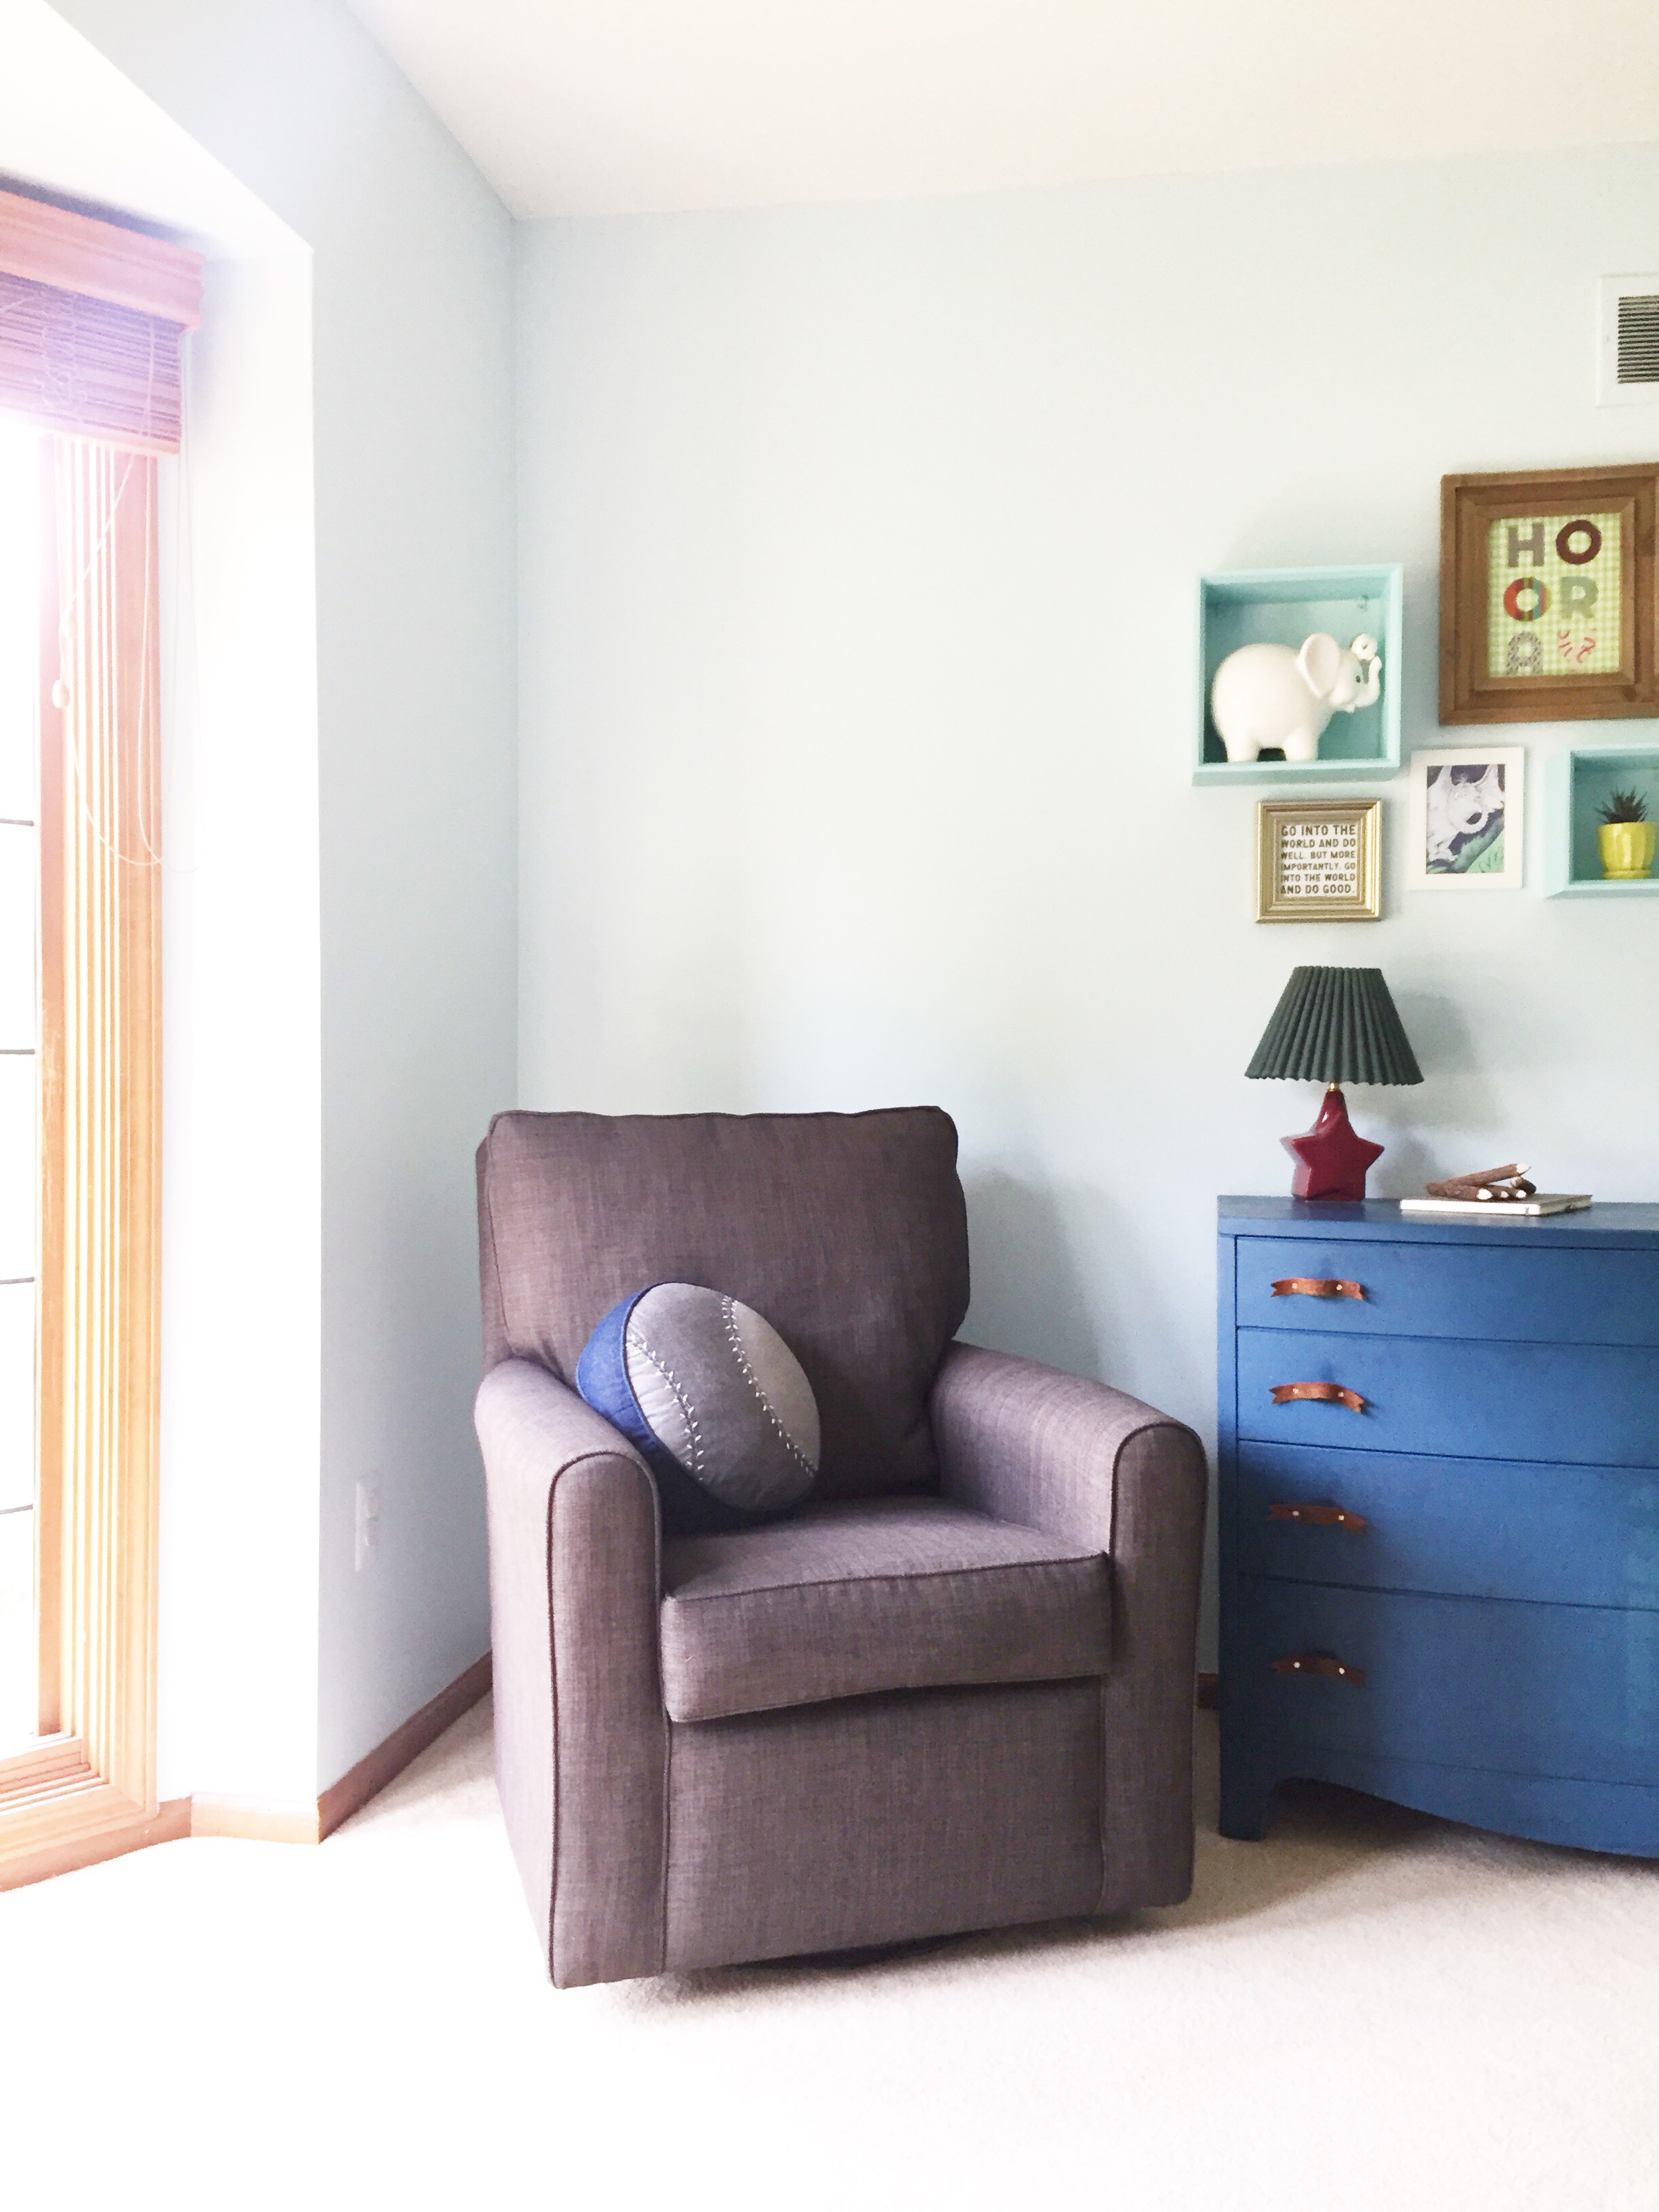
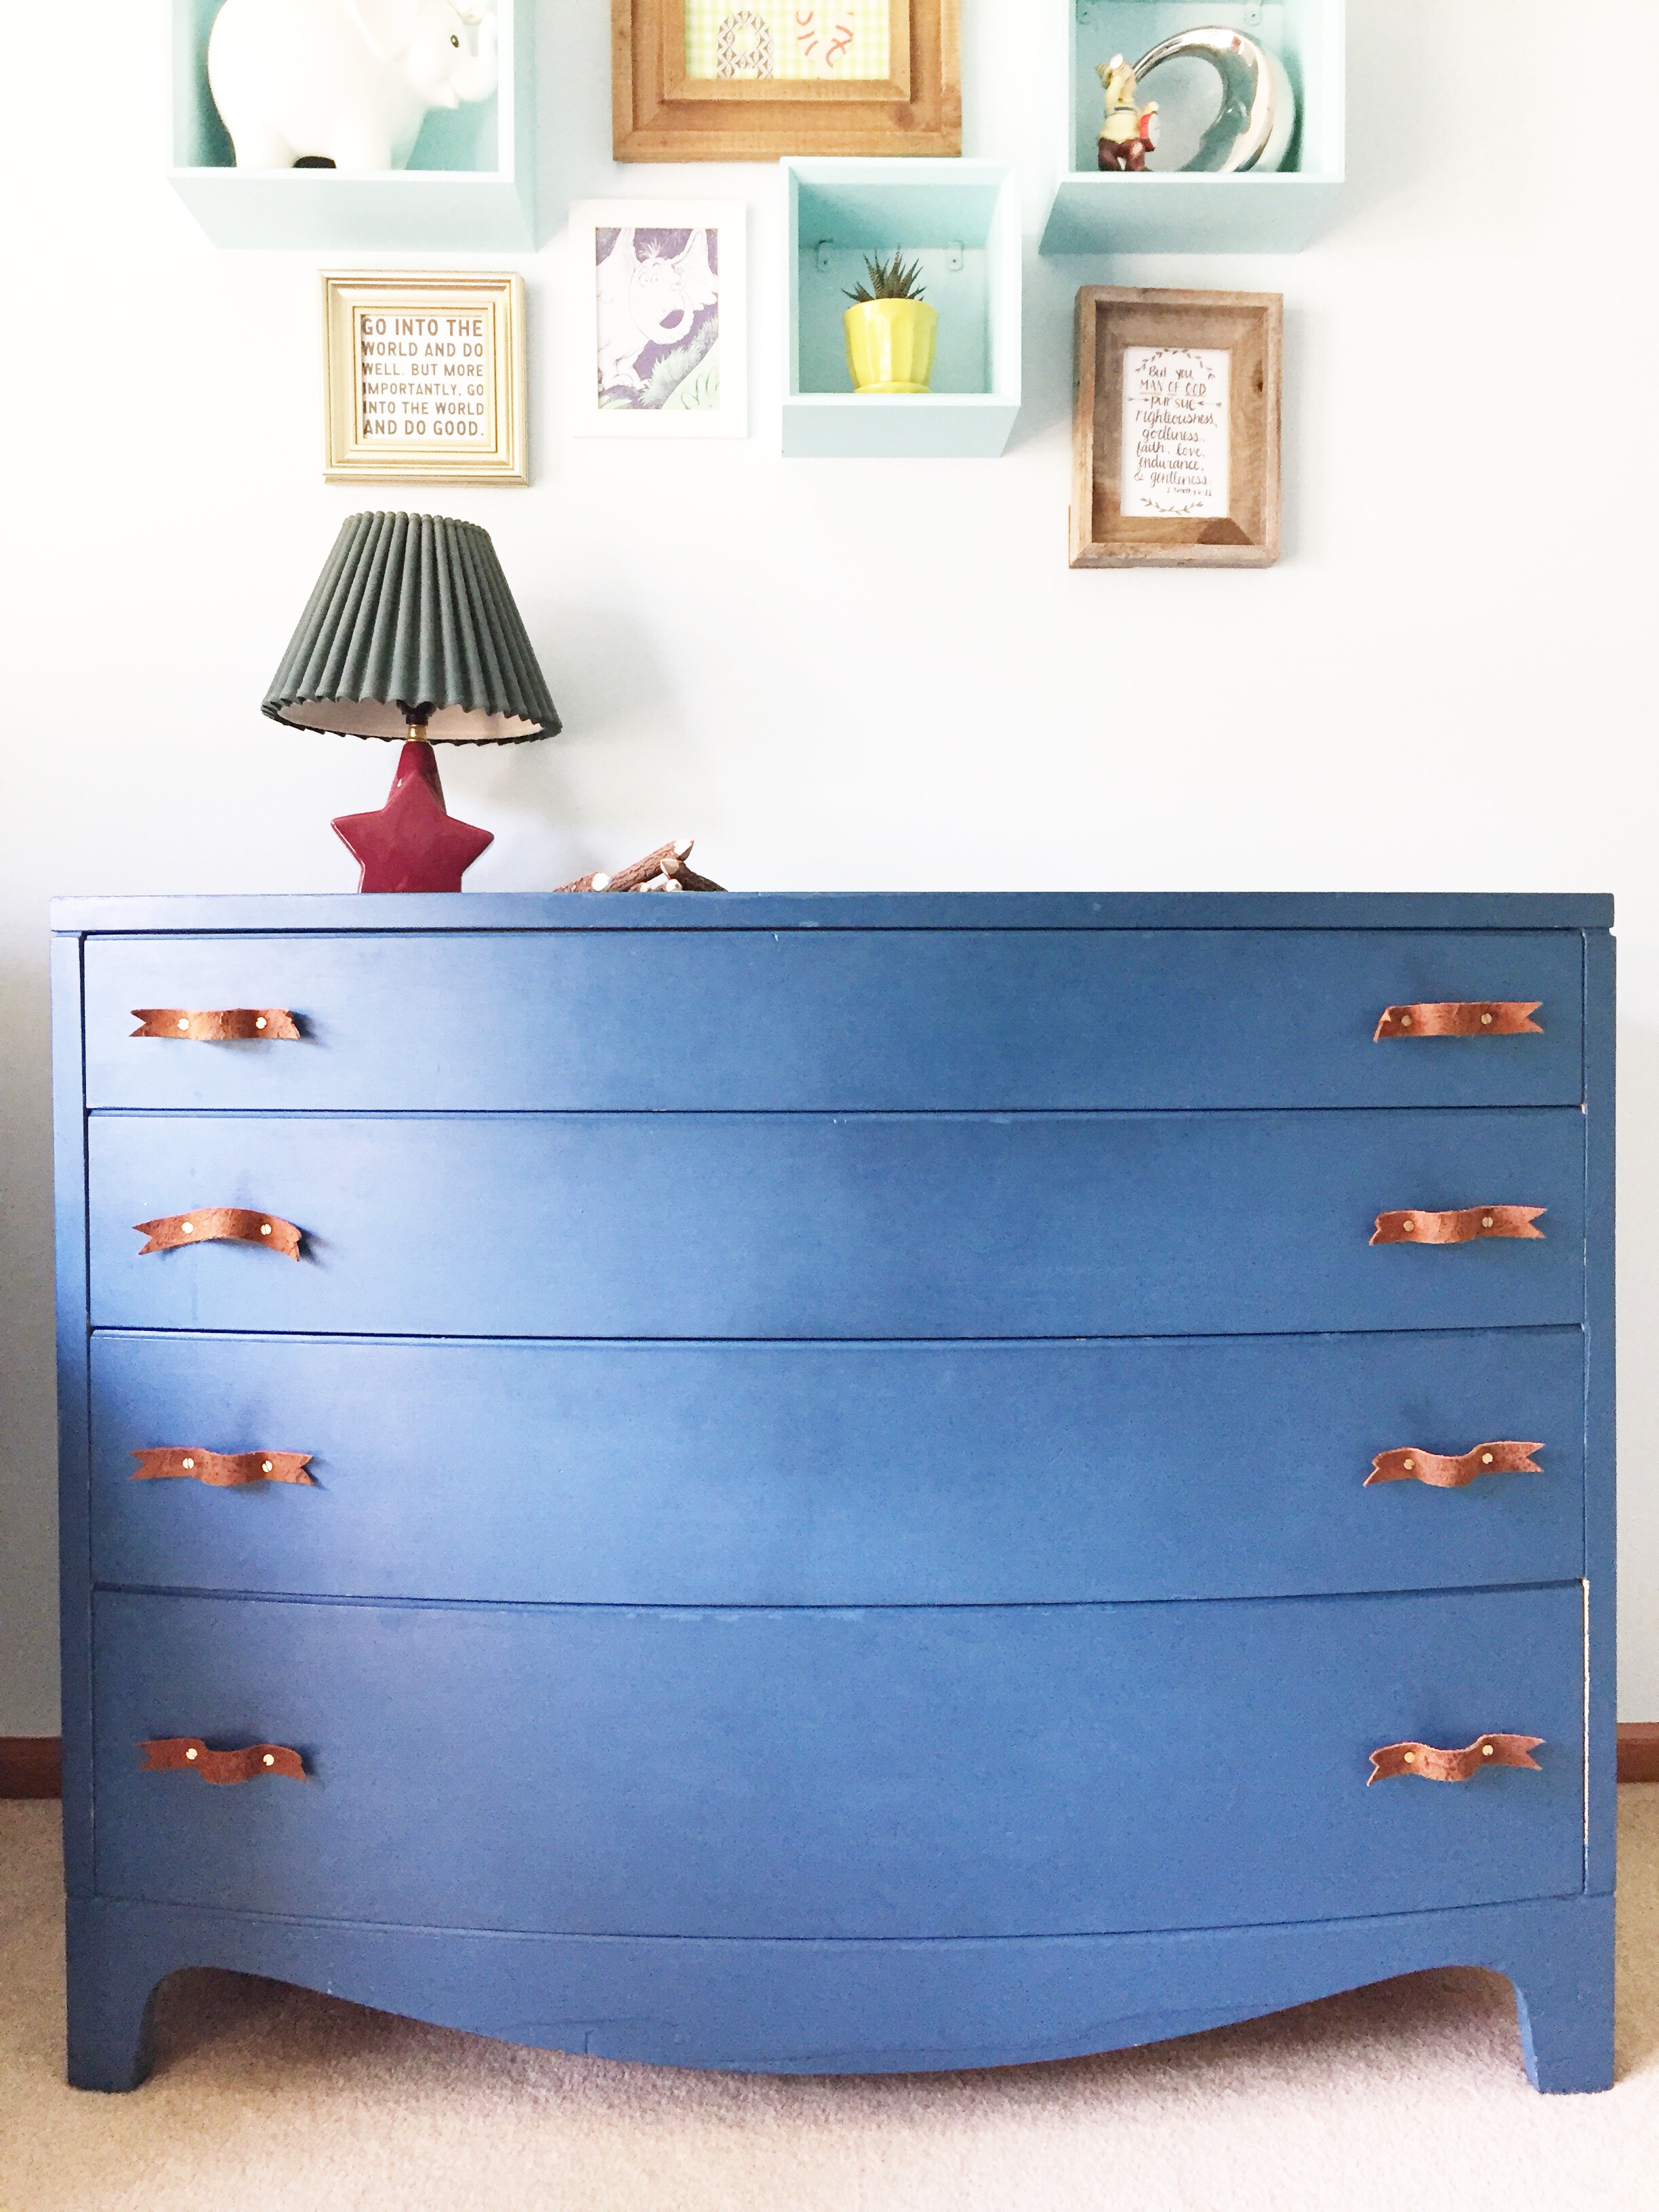
Chase's room is playful but not so themed that he'll tire of it in a couple of years (at least a mother can only hope). It's grounded with pale blue walls and lots of added personality punches from there on out. With a playful mountain mural in vibrant ocean shades of blue and teal I decided to keep the main furnishings in more traditional navy and grey. I plan to keep those whether he is tired of them or not!

The colors in the mountain mural are all Sherwin Williams - Bravo Blue, Spa, Freshwaster, Cooled Blue, and Loch Blue.

boy bedroom art collage diy.jpg

His room is chock full of DIY's with many tweaks still to come but in the meantime he loves showing everyone his mountains and having lots of open space to play!

This is a big change from the all white nursery at our old house but is still the happiest of places to play with our sweet little redhead.

Alright, any guesses on when he'll want to change it all?!

From Leak to Retreat

Sometimes the universe knows our desires. And as it turns out I'm not the only one in the world who desired of a new master bath that came to fruition because of a leak. It's definitely not the easiest solution but we're looking on the bright side here people. 

This master bath was ready for a fresh contemporary look. The extra wall disguising the toilet and varied height on the vanity top made the space feel choppy and small. The dark counters and shades of tile all made the space feel dark. Here's a sneak peak at the what the bathroom looked like before rejuvenating it.

Modern, clean, calming and not too cold is what we were aiming for in this revamped master bath. White cabinets were a definite NO so I chose a stained hickory for the custom cabinets. The blend of warm and cool coloring in the stain had me at hello and perfectly complimented its heavy grain. I kept the palette on the warm side of neutral with the tile selections and made sure the space still felt crisp with a white hex floor tile in the shower and a white quartz counter on the vanity. 

A deep blue/green glass mosaic niche the length of the shower makes the space feel modern and open, not to mention functional. This color is brought out in the towel selection and again in the beautiful watercolor painting by Kelly Ventura. With all of the adjustments to the floor plan and new design the space now feels open and bright, but still has a welcoming warmth that relaxes the soul at the end of a long day. 

ACS_0028.jpg

I am loving the warmer color palette, it's such a nice change from all of the grey and white (which I still love... clearly, see my own recent bathroom renovation). How about you, are you open to taking a chance on something new or would you rather go with what you know?!

Mini Master Makeover

Shortly after moving into our new house we realized our master bathroom shower was leaking directly onto our electrical box... no bueno. We had two options, find the leak and repair the tile or take it down to the studs and start fresh. The existing bathroom wasn't our style and felt cramped with a stall shower and linen closet both with doors opening into the tiny space. The space had potential despite its small size so we went all in and ripped all of this out! 

We wanted our new bathroom to feel refreshing, open and most of all functional for us. Must haves for my design plan included...

  • removing the linen closet and expanding the shower along the length of the wall
  • removing the soffit above the shower and linen closet to open up the space and raise the shower head
  • a seat in the shower
  • storage for everyday items since we wouldn't have much counter space
  • a neutral palette
  • and hex flooring, because I love it. 

I fell in love with this stormy blue lantern mosaic from Ann Sacks and the rest of the design all came together from there. 

master bathroom samples
penny tile and hex flooring

The space is grounded with a large textured hex tile in the main area and the grey transitions into the shower floor with a gorgeous penny tile and the perfect white granite with grey striations for the sill and shower seat.

Classic white subway tile and faceted polished nickel fixtures are timeless details that also brighten the space with their reflective nature. Walls painted in the faintest shade of blue (Sherwin Williams Quicksilver) make this the most refreshing place to start my day. The vanity was a great find and saved us from having to go the custom route. It has enough counter space for a flatiron (yes, I thought about that!), soap, and toothbrushes. The skinny drawer on the bottom is essential for staying organized, and the contrasting top gives it some character. And last but not least, our must have recessed medicine cabinet. Beautiful hidden storage for makeup, brushes, and everyday essentials that I don't want cluttering up our new space. 

And voila! We now have a beautiful master retreat that makes my heart happy. Everyone deserves a master bath that feels like a private oasis, no matter what kind of space constraints there are.

What would be on the must have list for your master bathroom?! A rain shower, a double vanity, or maybe even heated flooring... the list could go on and on! Share in the comments below or contact me if you're ready to make your master bathroom dreams come true!